Linux内核编译与qemu-gdb调试

Linux内核编译与qemu-gdb调试

内核下载

官方下载链接https://mirrors.edge.kernel.org/pub/

清华源https://mirrors.tuna.tsinghua.edu.cn/kernel/

我下载的是4.4版本的内核,因为准备要复现一下dirty-cow脏牛的漏洞

内核编译

  1. 下载到本地,解压,然后进入linux-4.4目录
1
2
tar xvf linux-4.4.tar.xz
cd linux-4.4
  1. 设置架构信息,根据自己的需求,如果是别的架构需要用交叉编译工具
1
export ARCH=x86
  1. 设置配置信息,选择我们需要的“菜单”,选择对应架构的“菜单”,这样内核才不会上错菜是吧
1
make x86_64_defconfig
  1. 配置内核
1
make menuconfig

然后就会出现一个界面

image-20211019203943949

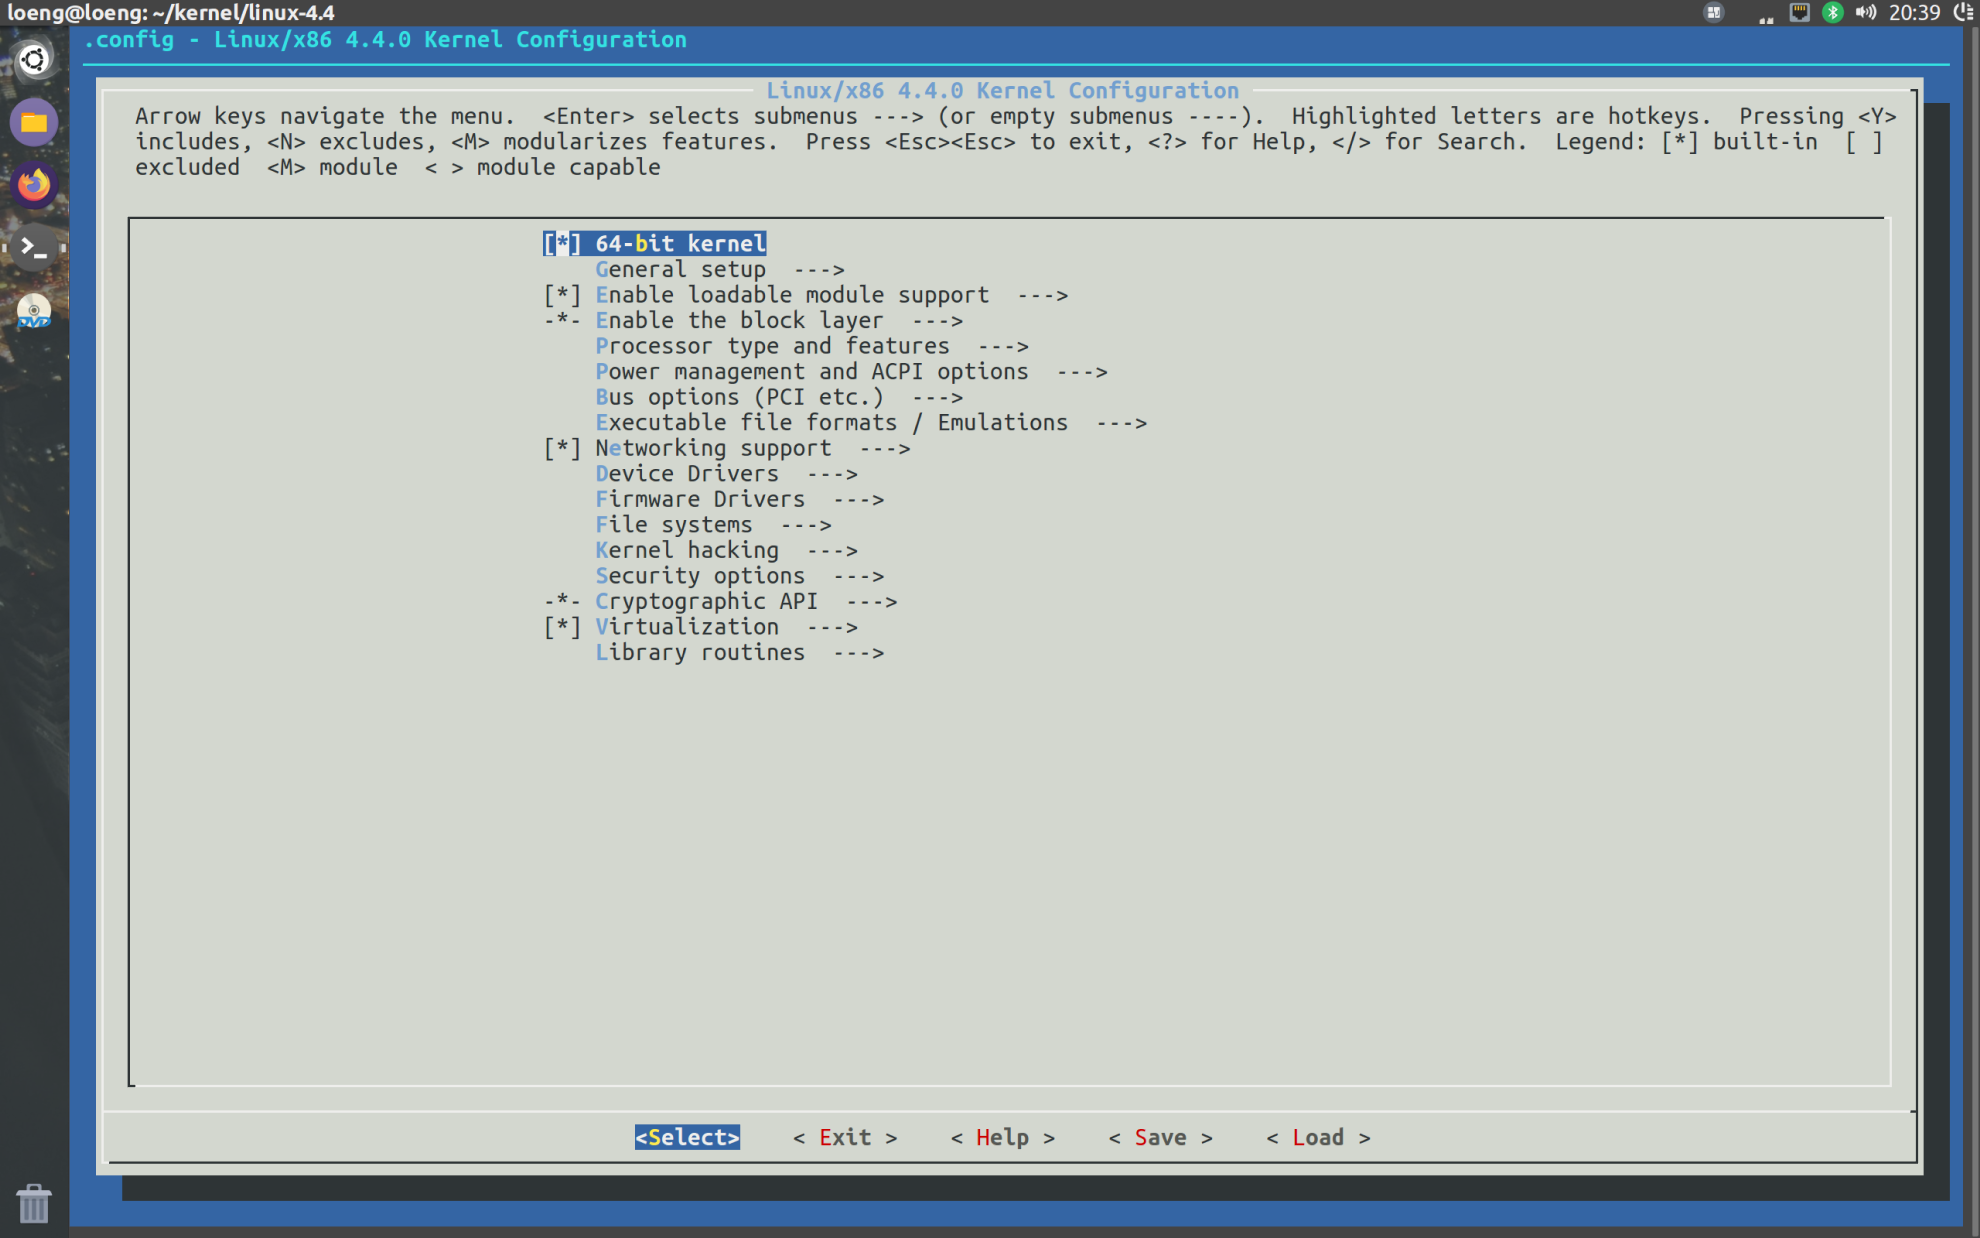
这一步其实是对第2步的菜单进行微调,我们需要内核支持ramdisk驱动,所以需要选中如下配置:

1
2
3
4
5
6
7
General setup  --->
      ----> [*] Initial RAM filesystem and RAM disk (initramfs/initrd) support
   Device Drivers  --->
      [*] Block devices  --->
              <*>   RAM block device support
              (65536) Default RAM disk size (kbytes) 
              这里4096改成65536

这里是ramdisk相关介绍https://www.cnblogs.com/chen-farsight/p/6119901.html

如果要启动debug,关闭地址随机化,不然断点处无法停止。

1
2
3
4
5
6
7
8
9
Kernel hacking  ---> 
2    [*] Kernel debugging
3    Compile-time checks and compiler options  --->
4        [*] Compile the kernel with debug info
5        [*]   Provide GDB scripts for kernel debuggin
6
7
8Processor type and features ---->
9    [] Randomize the address of the kernel image (KASLR)
  1. 编译内核
1
make

编译成功后的内核位于:arch/x86_64/boot/bzImage

image-20211019205348701

编译busybox

下载地址

https://busybox.net/downloads/

我下载的是1.34.1版本

  1. 解压busybox

    1
    tar xvf busybox-1.34.1.tar.bz2
    
  2. 配置busybox源码

    1
    2
    3
    4
    5
    make menuconfig
       
    Settings  --->
                [*] Build BusyBox as a static binary (no shared libs) 
    因为busybox是最小的文件系统,是不带C库的,所以这个选项是一定要选择的,这样才能把busybox编译成静态链接的可执行文件,运行时才独立于其他函数库.否则必需要其他库文件才能运行,在单一个linux内核不能使他正常工作。
    

    make报错看https://www.cnblogs.com/rose-/p/12991456.html,原因是版本太老,要改Makefile

  3. 编译和安装

    1
    make && make install
    
  4. 编译好了会放在根目录的_install里边,我们可以看到文件都指向了_install里边的bin文件夹下的busybox

    image-20211019212345871

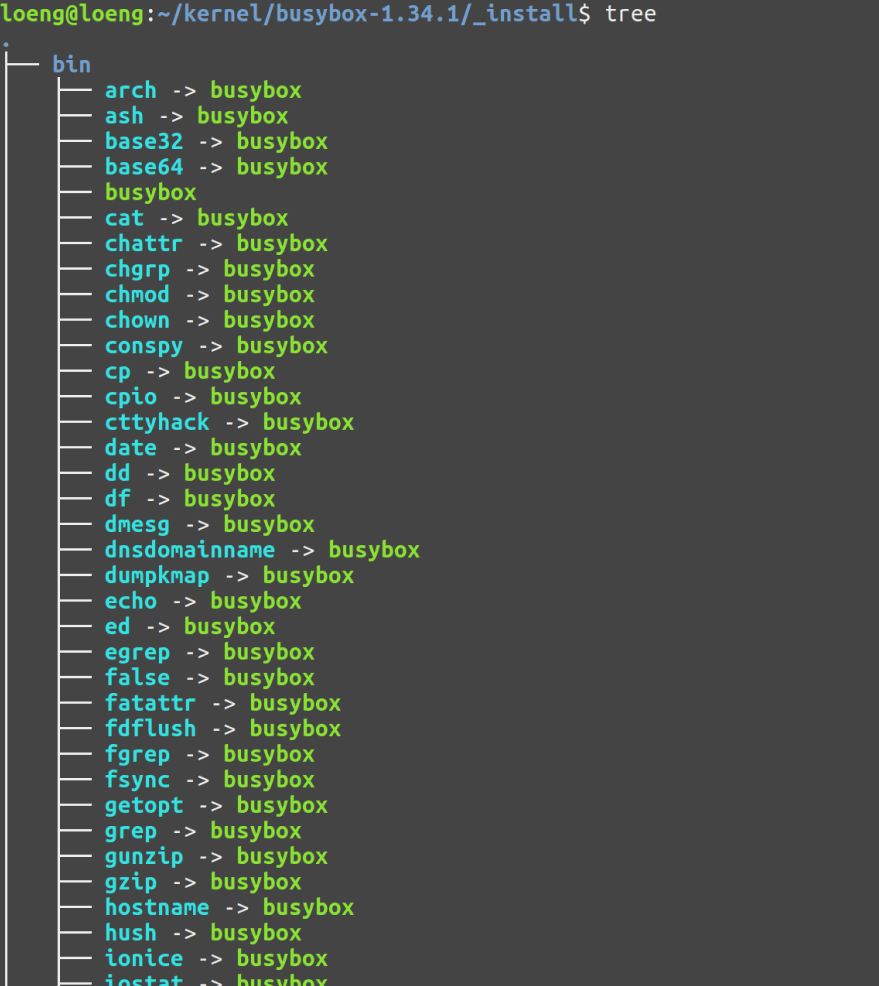
然后可以看到busybox是个ELF可执行文件,实际上上面那些文件就是软连接到busybox这个文件,然后busybox根据名字判断调用相对应的函数

image-20211019212426238

我们还需要补充一些必要的文件或目录,因为现在我们只有一些目录,并不是一个完整的文件系统,内核启动的时候它是无法识别目录的,所以我们还要将_install下面的这些目录打包成内核可以识别的文件系统:

1
2
3
4
5
6
7
8
9
10
11
12
13
14
15
16
17
18
19
20
21
22
23
24
25
26
27
28
29
30
31
32
33
34
35
36
37
38
39
mkdir etc dev mnt
mkdir -p proc sys tmp mnt
mkdir -p etc/init.d/ 
vim etc/fstab   
#这里是一些文件的挂载信息,busybox启动就会从这里读取,并会自动的将文件中指定的文件系统挂载到指定的目录
#proc:虚拟文件系统,在linux系统中被挂载与/proc目录下。里面的文件包含了很多系统信息,比如cpu负载、 内存、网络配置和文件系统等等。
#tmpfs:虚拟内存文件系统,使用内存作为临时存储分区,掉电之后会丢失数据,创建时不需要使用mkfs等格式化
#sysfs:虚拟内存文件系统,2.6内核之前没有规定sysfs的标准挂载目录,但是在2.6之后就规定了要挂载到/sys目录下,它的作用类似于proc,但除了与 proc 相同的具有查看和设定内核参数功能之外,还有为 Linux 统一设备模型作为管理之用。
#<file system>        <dir>         <type>    <options>             <dump> <pass> 
proc        /proc           proc         defaults        0        0
tmpfs       /tmp            tmpfs      defaults        0        0
sysfs       /sys            sysfs        defaults        0        0

vim etc/init.d/rcS
/bin/mount -a  #就是把上面fstab的东西挂载
echo -e "Welcome to tinyLinux"
/bin/mount -a
echo -e "Remounting the root filesystem"
#把根文件系统重新挂载一次,这样就变成可读可写
mount  -o  remount,rw  / 
mkdir -p /dev/pts
mount -t devpts devpts /dev/pts  #挂载文件系统
echo /sbin/mdev > /proc/sys/kernel/hotplug  #热插拔
mdev -s

chmod 755 etc/init.d/rcS
vim etc/inittab   #这个也是busybox启动会读取的文件
#label:runlevel:action:process 
::sysinit:/etc/init.d/rcS    #让系统启动时就运行rcS  sysinit 在运行boot或bootwait进程之前运行
::respawn:-/bin/sh           #respawn 不管何时终止都重新启动进程
::askfirst:-/bin/sh          #askfirst和respawn相同,只是在运行前提示"Please press Enter to activate this console."
::ctrlaltdel:/bin/umount -a -r   #ctrlaltdel 当Ctrl+Alt+Del三个键同时按下时运行,把SIGINT信号发送给init。忽略runlevel

chmod 755 etc/inittab
cd dev
mknod console c 5 1
mknod null c 1 3
mknod tty1 c 4 1 
c表示特殊文件是面向字符的设备(其他设备) 第一个数字主设备号  第二个数字次设备号

这样busybox文件系统就编译好了

制作根文件系统镜像文件

  1. 先制作一个空的镜像文件;

  2. 然后把此镜像文件格式化为ext3格式;

  3. 然后把此镜像文件挂载,并把根文件系统复制到挂载目录;

  4. 卸载该镜像文件。

  5. 打成gzip包。

要在busybox目录下运行脚本

1
2
3
4
5
6
7
#!/bin/bash
dd if=/dev/zero of=./rootfs.img bs=1M count=32  #创建一个32M的文件
mkfs.ext4 rootfs.ext4  #格式化为ext3
mkdir fs
sudo mount -t ext4 -o loop rootfs.img ./fs  #loop 用来把一个文件当成硬盘分区挂接上系统
cp -rf ./_install/* ./fs
umount ./fs

最终生成的文件系统镜像名字为:rootfs.img.gz

用QEMU启动内核和文件系统

安装qemu模拟器sudo apt install –install-suggests qemu

1
2
3
4
5
6
7
8
9
-kernel # 指定编译好的内核镜像

-hda  # 指定硬盘

-append "root=/dev/sda" 指示根文件系统 console=ttyS0  把QEMU的输入输出定向到当前终端上

-nographic 不使用图形输出窗口

-s 是-gdb tcp::1234缩写,监听1234端口,在GDB中可以通过target remote localhost:1234连接
1
qemu-system-x86_64 -kernel ./linux-4.4/arch/x86_64/boot/bzImage  -hda ./busybox-1.34.1/rootfs.img  -append "root=/dev/sda console=ttyS0" -nographic

Ctrl+A 松开后按 X 退出qemu

内核函数调试

启动命令中添加-s参数与-S参数启动qemu

1
qemu-system-x86_64 -kernel ./linux-4.4/arch/x86_64/boot/bzImage  -hda ./busybox-1.34.1/rootfs.img  -append "root=/dev/sda console=ttyS0" -s -S -smp 1 -nographic

运行完发现QEMU没有启动系统,因为要在gdb调试vmlinux才能运行

1
2
3
4
5
gdb linux-4.4/vmlinux
(gdb) target remote:1234
(gdb) b new_sync_read
(gdb) c
Continuing.

然后在qemu里输入ls触发new_sync_read